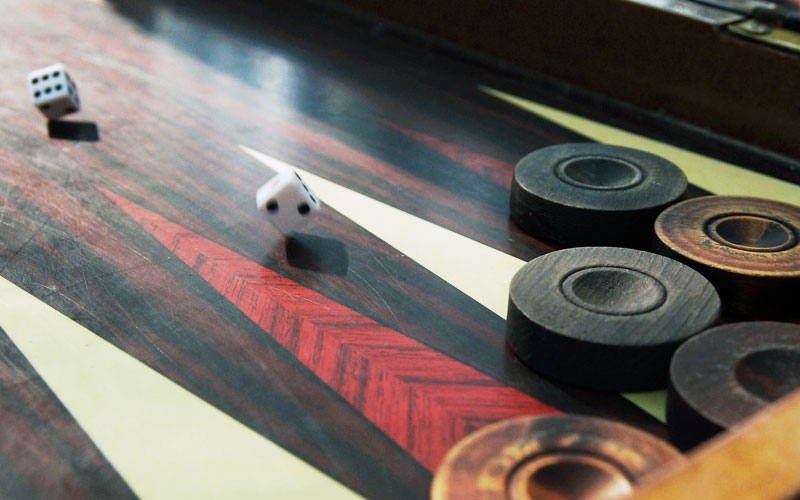
Welcome to a deep dive into the intriguing world of advanced anchors in the realm of backgammon! Let's unravel the significance of these strategic game-changers. An anchor, my friend, is akin to a stronghold nestled within your opponent's home board. Picture this: at the game's onset, your back checkers establish a modest anchor on your adversary's 1-point. While secure, this initial anchor lacks the punch of strategic prowess. Enter the scene: the advanced anchor, positioned higher up the board, often perched on the 5 or 4-points.
A Rookie Mistake to Avoid
Before we get into the nitty-gritty, here's a rookie blunder to sidestep: underestimating the potential of those back checkers. It's easy to consider them safe and snug on a secure point. Yet, danger looms when they get trapped behind a prime. How do you avoid this trap? By swiftly securing an advanced anchor early in the game. The advanced anchor stakes its claim on the opponent's 5-point, 4-point, 3-point, or sometimes even the elusive bar-point. However, note that some players might consider the 3-point and bar-point less impactful when mulling over advanced anchors. The advanced anchor is the secret sauce of strategic positioning in backgammon. It foils your opponent's offensive maneuvers, blocking their home-board prime ambitions and making them susceptible to hits on their outer board.
Figure 1: the Advanced Anchor.
The Grand Strategy Behind Advanced Anchors
You might have a vague notion that advanced anchors matter, but trust me, their strategic might goes deeper than you might think. Here are the juicy strategic advantages they bring to the table:
- Closing in on Home: Your back checkers are tantalizingly closer to your home sweet home.
- Prime Prevention: Thwarting your opponent's prime-building endeavors becomes a much taller order.
- Landing Safety: With your anchor lodged in their home board, you've got a trusty landing spot for those checkers re-entering from the bar after a hit.
- Outfield Control: The outfield becomes your playground. Your opponents must dance around, shuffling checkers as they march toward their home board. And guess what? This dance provides you with chances to land those satisfying hits from your anchor.
- Escape Route: Should you decide to make a daring dash and run, that advanced position within your opponent's home board might just pave the way for a smoother getaway.
Bagging an advanced anchor should be a star on your opening-game checklist. Once it's in your grasp, you're free to orchestrate other parts of the board with more gusto. Plus, the mental freedom that comes from having a secure landing point can't be overstated. Keep your eyes peeled, as some of those initial opening moves provide prime opportunities to set up an advanced anchor for your subsequent rolls.
5-4 Openning Roll
Let's explore the enchanting realm of the 5-4 opening roll. The optimal play is 24/20, 13/8. It's a well-rounded move, opening up avenues on both sides of the board. Yet, beware the lurking risk: your opponent might pounce on the blot you leave on their 5-point. However, if you evade the hit and roll a 4 on your next turn, behold the magic—it secures the 5-point in your opponent's home board, planting the seed of an advanced anchor. A premium position indeed, one that's bound to give your opponent a run for their money. As for the 13/8 move, it can serve as a spare builder or a nifty tool to smack advancing checkers in the upcoming moves.
The Marvelous 5-4 Move.
3-2 Openning Roll
Dive into the intriguing waters of the 3-2 opening roll. This time, opt for the 24/21, 13/11 dance. Like the 5-4 move, the 3-2 is a balanced play with opportunities unfolding on both flanks. The 24/21 nudges a back checker forward, setting the stage for a potential advanced anchor setup on the horizon—if the hit doesn't crash the party. And then there's the 13/11 move, bringing a builder down to a cozy spot where it can be enlisted in the subsequent move to secure a point.
The Dynamic 3-2 Move.
Wrap-up
You've got your advanced anchor, but when should you cut the tie? Two prime scenarios beckon for an anchor breakup. First up, the sprint—picture rolling a beefy double and gaining a shot at breaking free with a commanding lead in the race. The second situation revolves around exploiting a blot on your opponent's outer board. A clever choice when your home board packs a punch. Yet, be forewarned: breaking that advanced anchor commits you to a strategic pivot, with your checkers allowed forward but not backward. The path back to the advanced anchor involves a checker hit and a subsequent rebuild.
At the heart of it all, the anchor must eventually give way. After all, victory remains elusive if your back checkers linger in your opponent's home board. The conundrum lies in pinpointing the precise moment to sever that advanced anchor. A premature break could cost you your entry point and invite being trapped, while waiting too long might result in your back checkers becoming prisoners within a 6-prime in your own home board.
Your anchor abandonment decision boils down to the race. Analyze the pip counts, and when the scales tip in your favor, break and run. This decision might prove as challenging as picking the perfect Instagram filter, but timing is key. Dice rolls might occasionally nudge your hand, compelling the break.
So there you have it, the advanced anchor—the unsung hero of strategic backgammon. With its power to dictate the flow of the game and shape your path to victory, it's truly a force to reckon with. Master the art of advanced anchors, and you'll be wielding a formidable weapon in your backgammon arsenal. Happy rolling! :dice: